ZER0: The 10-inch DIY Rack
This post covers how I designed and built ZER0: my own 10-inch rack that anyone can build. No special knowledge is required, just a willingness to have fun and some low-cost hardware.
ZER0: 10-inch rack design
Special thanks go to @fonzdm, for providing valuable feedback on several of my design iterations. He was also the first person to replicate ZER0.
Why building ZER0?
Once I started my adventure as a SysAdmin cosplayer at home, the environment and my needs evolved so quickly. I started with a router and two Raspberry Pis, then added a Mikrotik hEX PoE and storage attached to the Pis. I’m also bulding another server using some old spare hardware, such as an ITX motherboard with an i5 processor. With each new component added to the setup, chaos was taking over, with cables and plugs to manage. And that’s when I realised I needed something to organise all the various devices.
The European market had a wide range of 10-inch network racks, even though 10 inches isn’t as robust a standard as 19 inches. There were also many notable brands, such as DIGITUS. In my opinion, these network racks had two main disadvantages:
- Price: They were very expensive for a 10U rack, but luckily the price seems to be coming down.
- Appearance: They didn’t look good in an apartment.
The GeekPi RackMate looks and feels great, but unfortunately it’s quite expensive at around €169.99 in Europe. That’s why I decided to build my own 10-inch server rack that matches my style more.
From sketch to rack
This was the first time I had tried to design and prototype an object from scratch using a 3D tool, with the aim of making it real. After reading various subreddits, blogs and topics, I decided to use Tinkercad.
I started with the aluminium profile 2020 and created a very basic shape to represent it. I wasn’t looking for a 1:1 design, as I wasn’t going to 3D print anything; I just needed something to help me visualise the final result and calculate the correct amount of hardware required without going into too much detail about the mid profile inner spaces.
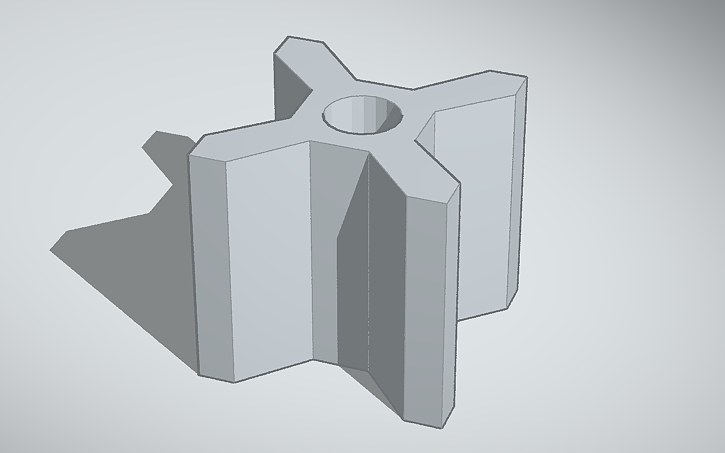
Aluminium Profile 2020 basic shape
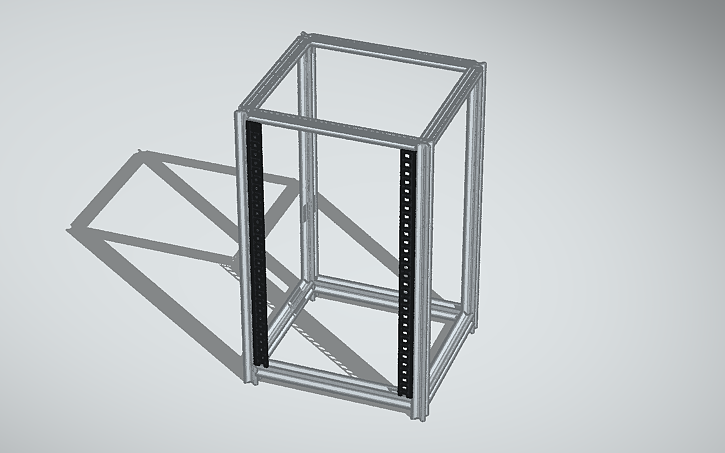
Once I had designed the aluminium profile 2020, I started my first sketch iteration.
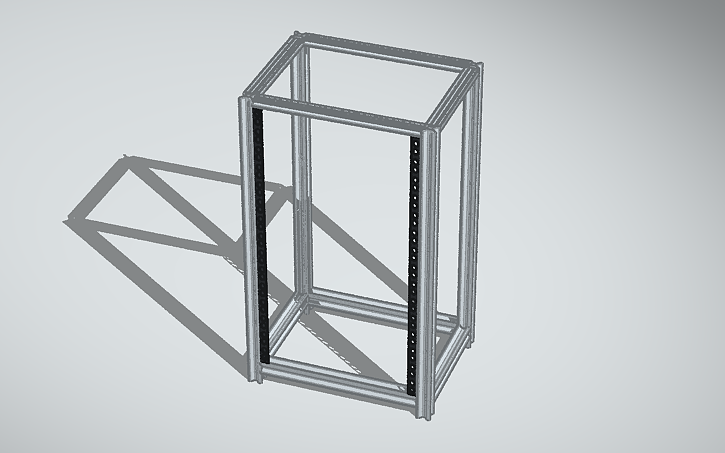
First rack design iteration
Since there wasn’t any common standard for the 10-inch racks, I decided to take few DIGITUS 10-inch shelves to calculate the width of the rack interior as well as the shelves’ housing. Once a few details had been finalised, I ordered all the hardware and started assembling it. Everything looked good: the rack structure was robust with the 10U rails attached and the shelves were mounted perfectly.
However, I realised that this design was flawed when I mounted the DeskPi SBC Mounting Shelf. This shelf is actually wider than the DIGITUS 10-inch shelf and was bending because the inner width of the rack wasn’t enough.
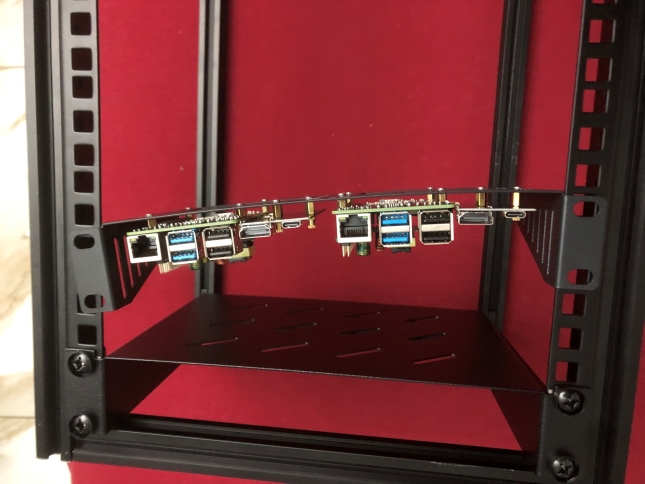
The DeskPi SBC Mounting Shelf actually bending in the rack
Shortly after this issue arose, Jeff Geerling decided to create a mini-rack repository on GitHub, where he collects information on all things mini rack-related, including hardware, tips, community builds and much more. He has also written a short article about the 10-inch mini rack standard:
There is no worldwide ‘standard’ published for what constitutes a “mini rack”. However, most of the industry has settled on the same ‘1U’ height standard as typical 19" racks (44.45mm, or 1.75"), but with the width being 236.525mm (9.312") between screw holes. This equates to an absolute maximum of around 220mm (8.75") of horizontal clearance. […]

Based on this comparison between the 19-inch and 10-inch dimensions, I was then able to fix the inner width of the rack. This comparison points out the ‘correct’ 10-inch dimensions.
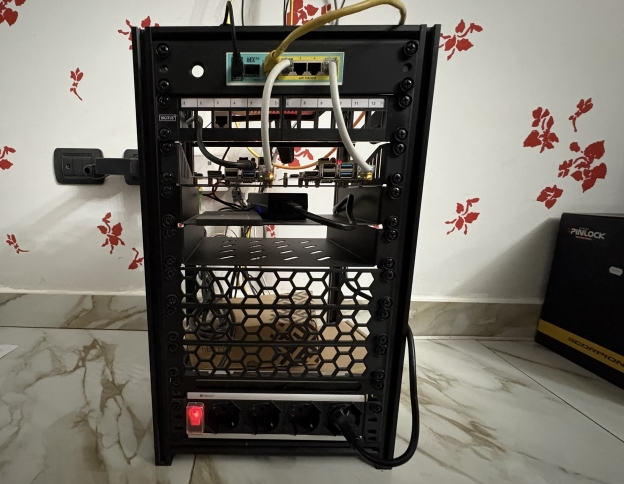
The messy final result
Replication
The idea behind this project is that anyone can replicate the rack design and build their own. No special knowledge is required — it’s like playing with Lego! I will write down the instructions once I have enough time. For now, see the 3D project from Tinkercad, read through the Bill of Materials, and feel free to reach out to me if you need help.
Bill Of Materials
To build your own ZER0 rack, you will need the following hardware:
- 4x Aluminium Profile 2020 500mm
- 4x Aluminium Profile 2020 264mm
- 4x Aluminium Profile 2020 236mm
- 2x 10U Rack Rails
- 18x L-Shape Joint Corner Bracket
- 6x T-Slot Nuts
- 6x M5x8mm Rounded Head Screws
Please note that the Amazon links are provided for reference only and I do not receive any money from them.
Aluminium profiles tend to be cheaper when purchased in larger quantities. You could either buy a few longer pieces and cut them yourself, or get them cut by professionals in your area.